

Introduction
Visual content today is more than just well-framed photographs, it’s about atmosphere, storytelling, and emotions. One visual element that brings all of that alive is photeeq lens flare. You’ve probably seen it in your favorite movies or dynamic portraits with that cinematic burst of light either from the sun or custom post-processing.
If you’ve been wondering how professional photographers add that magical light effect to their work, look no further than Photeeq Lens Flare. It’s a powerful creative tool that allows photographers and digital artists to apply realistic, customizable light overlays to their images.
By the end, you’ll know how to take your photos from nice to next-level cinematic, whether you’re shooting portraits, cityscapes, concerts, or creative campaigns.
What is Photeeq Lens Flare?
Photeeq Lens Flare is a professionally designed overlay pack used to add natural-looking lens flare effects to digital images. Unlike basic Photoshop filters, Photeeq Lens Flare offers transparent PNG overlays that can be easily added to any editing software.
These overlays mimic real flare effects like
- Sunlight leaks
- Anamorphic movie streaks
- Colored glare and rainbow patterns
- Bokeh highlights
- Soft camera glow
Key Features:
Professionally crafted resolution (300 DPI+)
Drag-and-drop overlays (.PNG with transparent backgrounds)
Easy to use in Photoshop, Affinity, GIMP, Canva Pro, etc.
Multiple styles for different moods and scenes
Whether you’re a new or a pro photographer, Photeeq Lens Flare gives you high-quality light effects without the hassle of rendering or plugins.
Why Use Lens Flare in Digital Photography?
Lens flare, once considered a photographic problem, is now a creative tool for adding realism and drama to images.
Benefits of Using Photeeq Lens Flare:
- Cinematic Mood – Add storytelling emotion and atmosphere
- Depth & Dimension – Enhance lighting for realistic environments
- Warmth or Coolness—Match flare temperature to ambient tones
- Focus Guide – Lead the viewer’s eyes naturally through the frame
- Aesthetic Appeal – Make your images visually rich and artistic
When It Works Best:
- Golden hour portraits
- Urban architecture with artificial lighting
- Light-inspired product photos
- Backlit fashion photography
Lens flare conveys emotion without words and Photeeq Lens Flare helps you control that emotion like an artist.
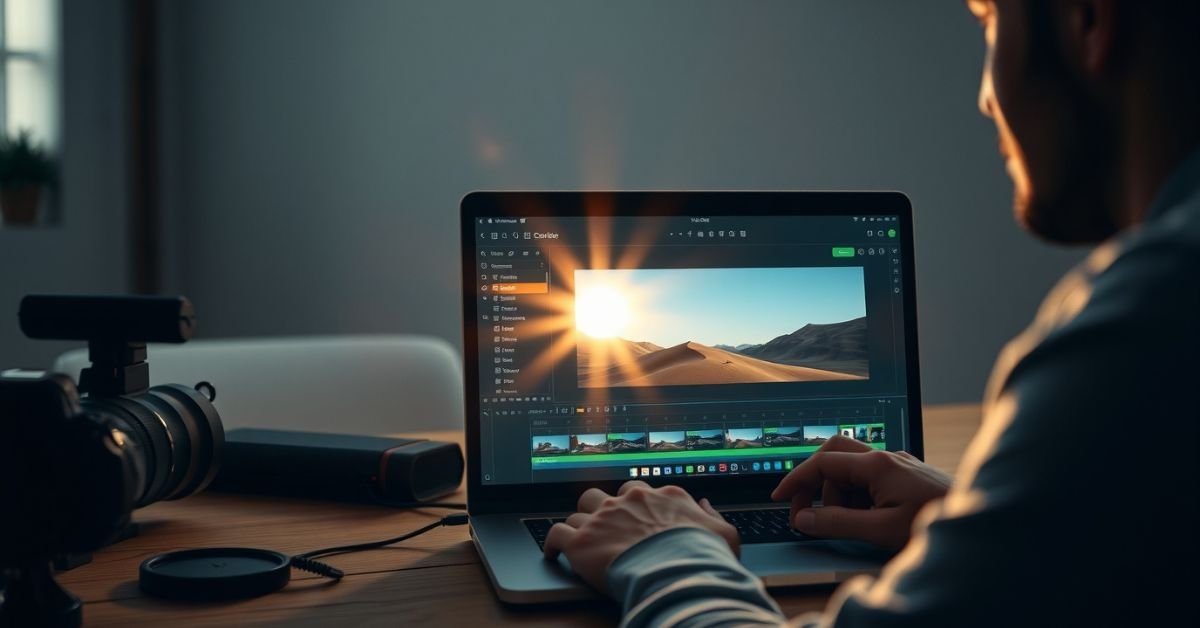
How to Install and Use Photeeq Lens Flare Efficiently
You don’t need a plugin to use Photeeq Lens Flare, it’s as easy as adding an image layer.
Step-by-Step Guide:
- Download the Photeeq Lens Flare Pack.
- Extract the zip file into your Overlays folder.
- Open your image in editing software.
- Drag your preferred flare overlay into the document.
- Change blend mode to Screen or Lighten.
- Adjust flare placement, scale, and opacity as needed.
- Optionally: Apply layer masking to hide unwanted areas.
Tips for Better Results:
- Use Gaussian Blur to soften harsh flares
- Match flare direction with light source
- Always edit on duplicate layers for a non-destructive workflow
Even beginners can follow these steps to create a polished, professional look in under 5 minutes.
Understanding Types of Photoeq Lens Flares
Photeeq Lens Flare offers a variety of flares designed for different effects and emotions.
| Flare Type | Best Uses |
| Soft Warm Flares | Sunsets, emotional portraits |
| Anamorphic Flares | Night scenes, street photography |
| Radial Bursts | Outdoors, dreamy backlight |
| Light Leaks | Vintage effects, film-style filters |
| Multicolor Glows | Music videos, artistic expressions |
Each overlay serves a purpose. You’re not just slapping a filter, you’re painting with light.
Cinematic and Editorial Use Cases
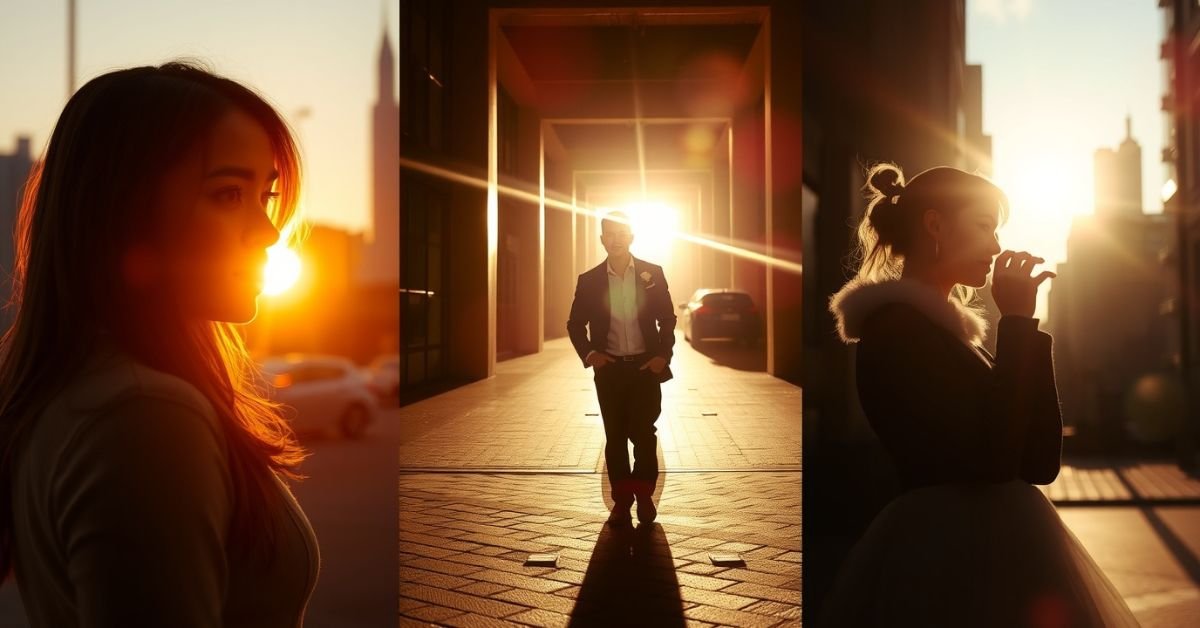
Whether you’re mimicking a movie poster or a Netflix documentary still, Photeeq’s cinematic flares are perfect for polished, engaging imagery.
Popular Creative Applications:
- Music Album Covers
- Engagement & Wedding Photography
- City Skyline Shots
- Fashion Editorials
- Landscape Drama with Sky Pop
Pro Effects:
- Simulate lens imperfections from cinema cameras
- Recreate a vintage or “film still” look
- Combine with LUTs or filters for ambient consistency
Used wisely, Photeeq Lens Flares can deliver Hollywood vibes to your still images.
Photeeq vs. Other Flare Tools: What Makes It Stand Out?
Let’s compare Photeeq vs other popular lens flare options.
| Feature | Photeeq | Photoshop Flare Filter | Lens Distortions App |
| Custom Style | ✔️ Yes | ❌ Limited to presets | ✔️ Yes |
| Easy Drag & Drop | ✔️ Yes | ❌ No | ✔️ Yes |
| One-time Purchase | ✔️ Yes | ✔️ Built-in | ❌ Subscription |
| Layer-based Editing | ✔️ Supported | ❌ No layers | ✔️ Supported |
| Realistic Output | ⭐⭐⭐⭐⭐ | ⭐⭐ | ⭐⭐⭐⭐ |
Verdict: If you’re looking for realism and creative control at a fair price, Photeeq leads the pack.
Real-Life Photo Enhancements (Before/After)
Here are examples of how Photeeq lens flares improve different types of photos:
Example 1: Outdoor Portrait
Before: Flat sunlight, boring exposure
After: Warm, glowing sunburst from top-right → Adds emotion, romance
Example 2: Fashion Shoot
Before: Plain lighting against backdrop
After: Anamorphic flare across headlight → Fashion-forward magazine vibe
| Scenario | Result With Photeeq |
| Sunset Portrait | Golden tones, emotionally rich |
| Rainy Street | Moody blue flare, cinematic depth |
| Night Skyline | Anamorphic purple streaks, drama |
Advanced Integration Tips for Realism
To make flares feel natural and immersive, use these artist-level techniques:
Do’s:
- Align flare with visible natural light
- Use layer masks to control spill
- Apply motion blur for dynamic or moving scenes
- Adjust white balance of flares to match scene theme
Don’ts:
- Avoid flares over key facial features or text
- Don’t oversaturate or overexpose important elements.
- Don’t duplicate the same flare in every image, stay creative!
It’s not about adding light blindly, it’s about shaping the mood.
Using Photeeq on Mobile Devices or Tablets
Yes, you can use Photeeq even without Photoshop on mobile or tablets with apps like.
- Affinity Photo for iOS
- Photoshop for iPad
- Canva Pro (with layer support)
- Pixlr E or Snapseed (limitations apply)
Upload PNG overlays via Dropbox or Google Drive and import them layer by layer. While desktop remains the industry standard, mobile integration is a growing trend for digital creators.
Best Practices for Creative Flare Use
When in doubt, follow these golden rules:
Guidelines:
- Keep your purpose clear, use flair to amplify, not distract.
- Match the flare’s temperature to the image tone
- Always align flares with logical light sources
- Zoom out and assess does it feels natural?
Less is more. Over-flaring looks fake. With a light touch, your photos speak volumes.
FAQs
Does using Photeeq Lens Flare require Photoshop?
No. Any software that supports layers and blend modes (like Affinity, GIMP, or even Canva Pro) will work great.
Can I remove Photeeq lens flares later?
Yes, just delete or hide the flare layer. It’s 100% non-destructive.
Is Photeeq beginner-friendly?
Absolutely. Even beginners can use it with basic drag-and-drop techniques.
Are there copyright or licensing issues?
No. Photeeq overlays are royalty-free for personal and commercial use (check license terms at purchase).
Will flares reduce my photo quality?
No, they’re high-resolution PNGs created for professional use at 300 DPI.
Conclusion
Photography is an art of light and Photeeq Lens Flare empowers you to control that light creatively and professionally.
Whether you’re aiming for a dreamy daylight portrait, a dramatic nighttime editorial, or a cinematic cityscape, Photeeq gives you the freedom to paint with light, push your visual limits, and bring studio-quality enhancements into your workflow with minimal effort.
Don’t leave lighting to chance. Use the right flare, in the right place, for the right purpose and you’ll see your images transform from static frames to emotive visual stories.